Creating a Simple Web Application |
Learn more about Verizon Connect GeoBase.
Get information about the latest release
The goal of this tutorial is to create a simple web-based mapping application using GeoStream. The application will display a map and allow the user to search for an address. The map will also display satellite imagery, toggled on and off using a check box.
This application will be designed using a single ASPX file. Open a text editor and create a file named simplemap.aspx. Save this file in C:\Program Files\Telogis\GeoBase\geostream\server\scripts\.
Throughout this tutorial code will be added to this file to create the application.
The GeoBase SDK installer configured Microsoft IIS to host a website on your local computer. This website is accessible through the URL http://localhost/GeoStream. The files contained in this website are the files in your C:\Program Files\Telogis\GeoBase\geostream\server\ directory. |
The web page will consist of two divisions: one will contain a map, and the other division will contain controls (text boxes, a 'Search' button and a check box) to allow us to search for an address and toggle the display of satellite imagery.
Begin by adding the following skeleton code to simplemap.aspx.
<%@ Page Language='C#' Src='AuthenticatedPage.aspx.cs' Inherits='AuthenticatedPage' %>
<!DOCTYPE html PUBLIC '-//W3C//DTD XHTML 1.0 Strict//EN' 'http://www.w3.org/TR/xhtml1/DTD/xhtml1-strict.dtd'>

<html xmlns='http://www.w3.org/1999/xhtml'>
<head>
  <title>Simple Web-based Mapping Application</title>
  <script type='text/javascript' src='<% GetAPISource (); %>'></script>
  <script type='text/javascript'>
    <!-- All of our JavaScript source code will go here --!>
  </script>
</head>
<body>
  <div id='main_map' style='position: absolute; left: 10px; top: 10px; border: 1px solid black; width: 800px; height: 600px;'>
  </div>

  <div id='controls' style='position: absolute; left: 10px; top: 620px;'>
    <input type='text' id='search_field' style='width: 250px;' />
    <input type='text' id='country_field' style='width: 50px;' value='USA' />
    <input type='button' value='Search' />
    <input type='checkbox' id='satellite_checkbox' style='margin-left:250px'>Show satellite imagery</input>
  </div>
</body>
</html>
Note the following two lines of code:
<%@ Page Language='C#' Src='AuthenticatedPage.aspx.cs' Inherits='AuthenticatedPage' %>
<script type='text/javascript' src='<% GetAPISource (); %>'></script>
The first line of code references the AuthenticatedPage class. This class is responsible for managing GeoStream servers, defining paths to GeoStream API include files and generating an authentication token. The second line of code imports the required GeoStream JavaScript source file.
Test your web page by visiting this URL:
http://localhost/GeoStream/scripts/simplemap.aspx
You will be presented with a page similar to that shown in Figure 1, below.
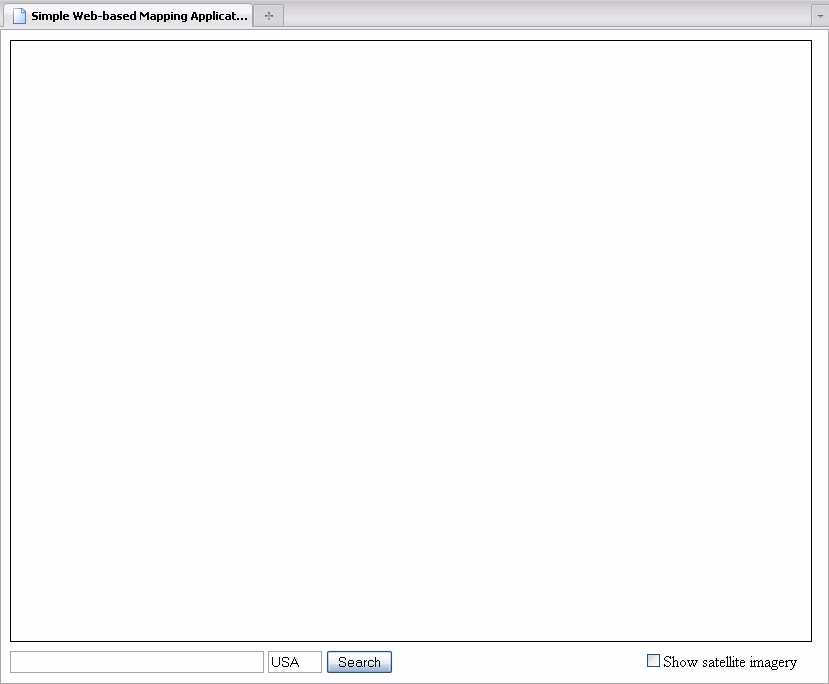
Figure 1
Now, we will add a map to the web page. Each GeoStream map is a series of tiles, which are downloaded and cached as required. The code below creates a Map widget and a TileLayer. The Map is instructed not to create tiles. Instead, we will use the TileLayer to create tiles from the Map and then display these tiles by setting the map property of the TileLayer. The TileLayer configuration specifies that satellite imagery should not be shown (we will change this later, using the check box). The TileLayer is instructed to draw a map using the Map we created.
We also set a service and authentication token. These are used internally by GeoStream to control access to GeoStream servers. Note that the code below is contained within a function named main. We will execute this main function when the page loads.
var tiles;
var map;
var main = function ()
{
    Telogis.GeoBase.setService (<% GetService (); %>);
    Telogis.GeoBase.setAuthToken (<% GetToken (); %>);
    map = new Telogis.GeoBase.Widgets.Map({ id: 'main_map', createTiles: false });
    tiles = new Telogis.GeoBase.MapLayers.TileLayer({
        id: 'main_map',
        map: map,
        tileConfig: {satellite: false}
    });
};
Place the above code between the second pair of <script> tags.
Next, modify the onload event of your HTML body to call the above code. This ensures that GeoStream code only executes after the page has loaded. Replace the <body> tag with <body onload='main();'>.
Again, test your web page by visiting http://localhost/GeoStream/scripts/simplemap.aspx. You will be presented with a page similar to that shown in Figure 2, below. Note that you can now pan (by clicking and dragging the mouse) and zoom (using the mouse scroll wheel) around your map.
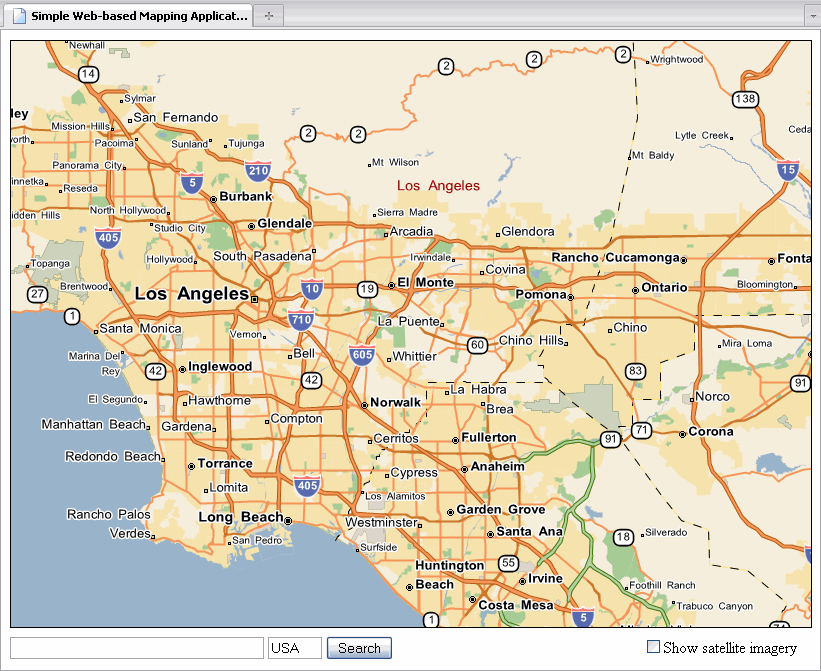
Figure 2
Satellite imagery is often used to provide information that is not available in traditional maps. This information includes vegetation, topographical information, obstacles and other off-road information.
GeoStream uses satellite imagery supplied by DigitalGlobe. This imagery is cached on your GeoStream server, and periodically replaced when new imagery becomes available. To switch from map view to a display of satellite imagery, it's as simple as changing a single property on the TileLayer. The rest is automatically configured.
Place the following function between the second pair of <script> tags. This function checks the state of the check box and toggles the display of satellite imagery appropriately.
function toggle()
{
    var unchecked = document.getElementById('satellite_checkbox').checked;
    if (unchecked) tiles.reconfigureTiles ({satellite: true});
    else tiles.reconfigureTiles ({satellite: false});
}
Modify the check box to add an onclick event. This onclick event will call the toggle function. Use the following code snippet:
<input type='checkbox' id='satellite_checkbox' onclick='toggle();' style='margin-left: 250px'>Show satellite imagery</input>
Searching for an address is a process known as geocoding.
Forward geocoding begins with a street address (such as 20 Enterprise, Aliso Viejo, CA 92656) and ends with a location (such as 33.5846,-117.7325). The opposite of forward geocoding, reverse geocoding, begins with a location and ends with a street address.
In this tutorial we will use forward geocoding to center the map on a given address. To do this, we will use two functions: the first function will initiate a forward geocode. The second function will be automatically called when the geocoding process has completed. This second function will center and zoom the map only if the search was successful. Note that a geocode may return multiple results: typically this occurs when a 'vague' search string was entered (such as Technology Drive, instead of Technology Drive, Irvine, CA).
Place the following two functions between the second pair of <script> tags.
function geocode()
{
    var address = document.getElementById('search_field').value;
    var country = document.getElementById('country_field').value;
    Telogis.GeoBase.GeoCoder.geoCode (address, country, process_geocode);
}
function process_geocode(results)
{     // results is an array of addresses that match the search string
    if (results.length > 0)
    {     // each address has a location (coordinate) property
        var loc = results[0].getLocation();
        map.pan(loc); // pan to top search result
        map.setZoomIndex (16); // zoom the map – higher number is a closer zoom
    }
    else alert ('No matching addresses were found.');
}
Modify the 'Search' button to add an onclick event. This onclick event should call the geocode function, above. Use the following code snippet:
<input type='button' value='Search' onclick='geocode();' />
Now when you launch your web page you will be able to search for an address and toggle between satellite imagery and a map display.
This tutorial has only touched on some of the functionality available through GeoBase's GeoStream mode of operation. GeoStream also makes it easy to place a marker on the search location, generate driving directions between locations and reverse-geocode a given location.
However, the goal of this tutorial is to simply introduce GeoStream as a means of harnessing the power of GeoBase. You should now be able to:
- Place a map on a webpage, either displaying map data or satellite imagery
- Call JavaScript functions when objects are clicked
- Handle asynchronous function calls, using callback functions (as used when geocoding)
For more tutorials and examples, browse the 'JavaScript Tutorials' and 'Common Concepts' section of the GeoBase reference documentation.